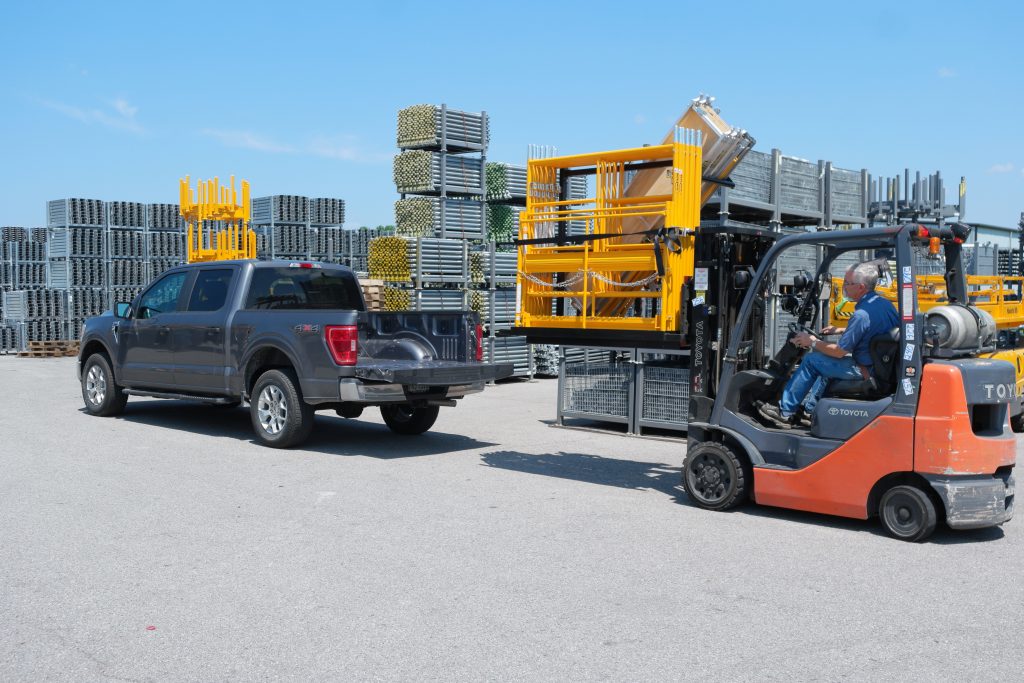
When your project is complete and you’re ready to load the EZ-RAX system up to return, follow these steps for easy loading:
- Remove the snap pin from the latch and open. Place outriggers on the rack between two supports. Rotate the latch to hold the outriggers in place, then secure the latch with the snap pin.
- Place walk boards with the underside facing out against the support arm.
- Place side panels in front of the walk boards. Place the side toe boards in front of the side panels and slide toe boards into the rack pocket located on the bottom of the EZ-RAX.
- Place a cat-a-corner brace in front of toe boards and slide into the rack pocket.
- Place cross branches in front of the side toe boards and on top of the cat-a-corner brace and slide the braces into the rack pocket.
- Place casters in front of the outriggers and end guard rail panels, insert the stem end into the vertical tube, and secure each in place with a snap pin.
To load the other side of the EZ-RAX:
- Place the frames on the other side of the rack on the top support arm. Insert the bottom of the scaffold frame over the tube to hold it in place. Repeat until finished.
- Once all the frames have been loaded, place end guard rail panels in front of the frames on the lower support arm. Insert the bottom of each panel over the tube to hold it in place.
- Secure everything in place for safe transport. PLEASE NOTE: If the ratchet strap comes apart, follow these steps:
- Feed the end of the strap through the lower slot in the handle ratchet coming up from the bottom.
- Pull up so more of the strap is available, then start ratcheting by pulling the handle.
- On the frame side of the EZ-RAX, attach the 10’ strap to ring A, wrap it around the frames and end guard panels, and attach it to ring B, tightening the strap using the larger black handle.
- On the caster side of the EZ-RAX, attach the 6’ strap to ring C, wrap it around the walk board section, and attach it to ring D. Tighten the strap in place.
- Attach the other 6’ strap to ring D, wrap it around the outriggers, and attach it back to ring D. Tighten the strap in place.
- Remove the snap pin from the support tube, then insert the bracket into the support tube and secure in place with a snap pin.
- Check to ensure all parts are secure on the EZ-RAX. Do not transport if parts are loose, missing, or in bad condition
We’ve created a helpful video that will take you through the process of loading your EZ-RAX scaffolding. Click the link to see how easy it is!

